Customizing Codebase
This guide covers customizing your application using a code editor and deploying changes to your server.
Using A Code Editor
You can also use a code editor to customize the Framecast AI codebase. Using a code editor is useful specifically if you're familiar with coding and want to make more advanced or a lot of changes at the same time. Some of the recommended code editors are:
- Visual Studio Code (opens in a new tab)
- Sublime Text (opens in a new tab)
- Cursor (opens in a new tab)
For our example, we will use Visual Studio Code. Here's how you can customize the Framecast AI codebase using Visual Studio Code:
Setup Codebase In Code Editor
Open Visual Studio Code and click on File > Open Folder. Select the folder where you have the Framecast AI
codebase.
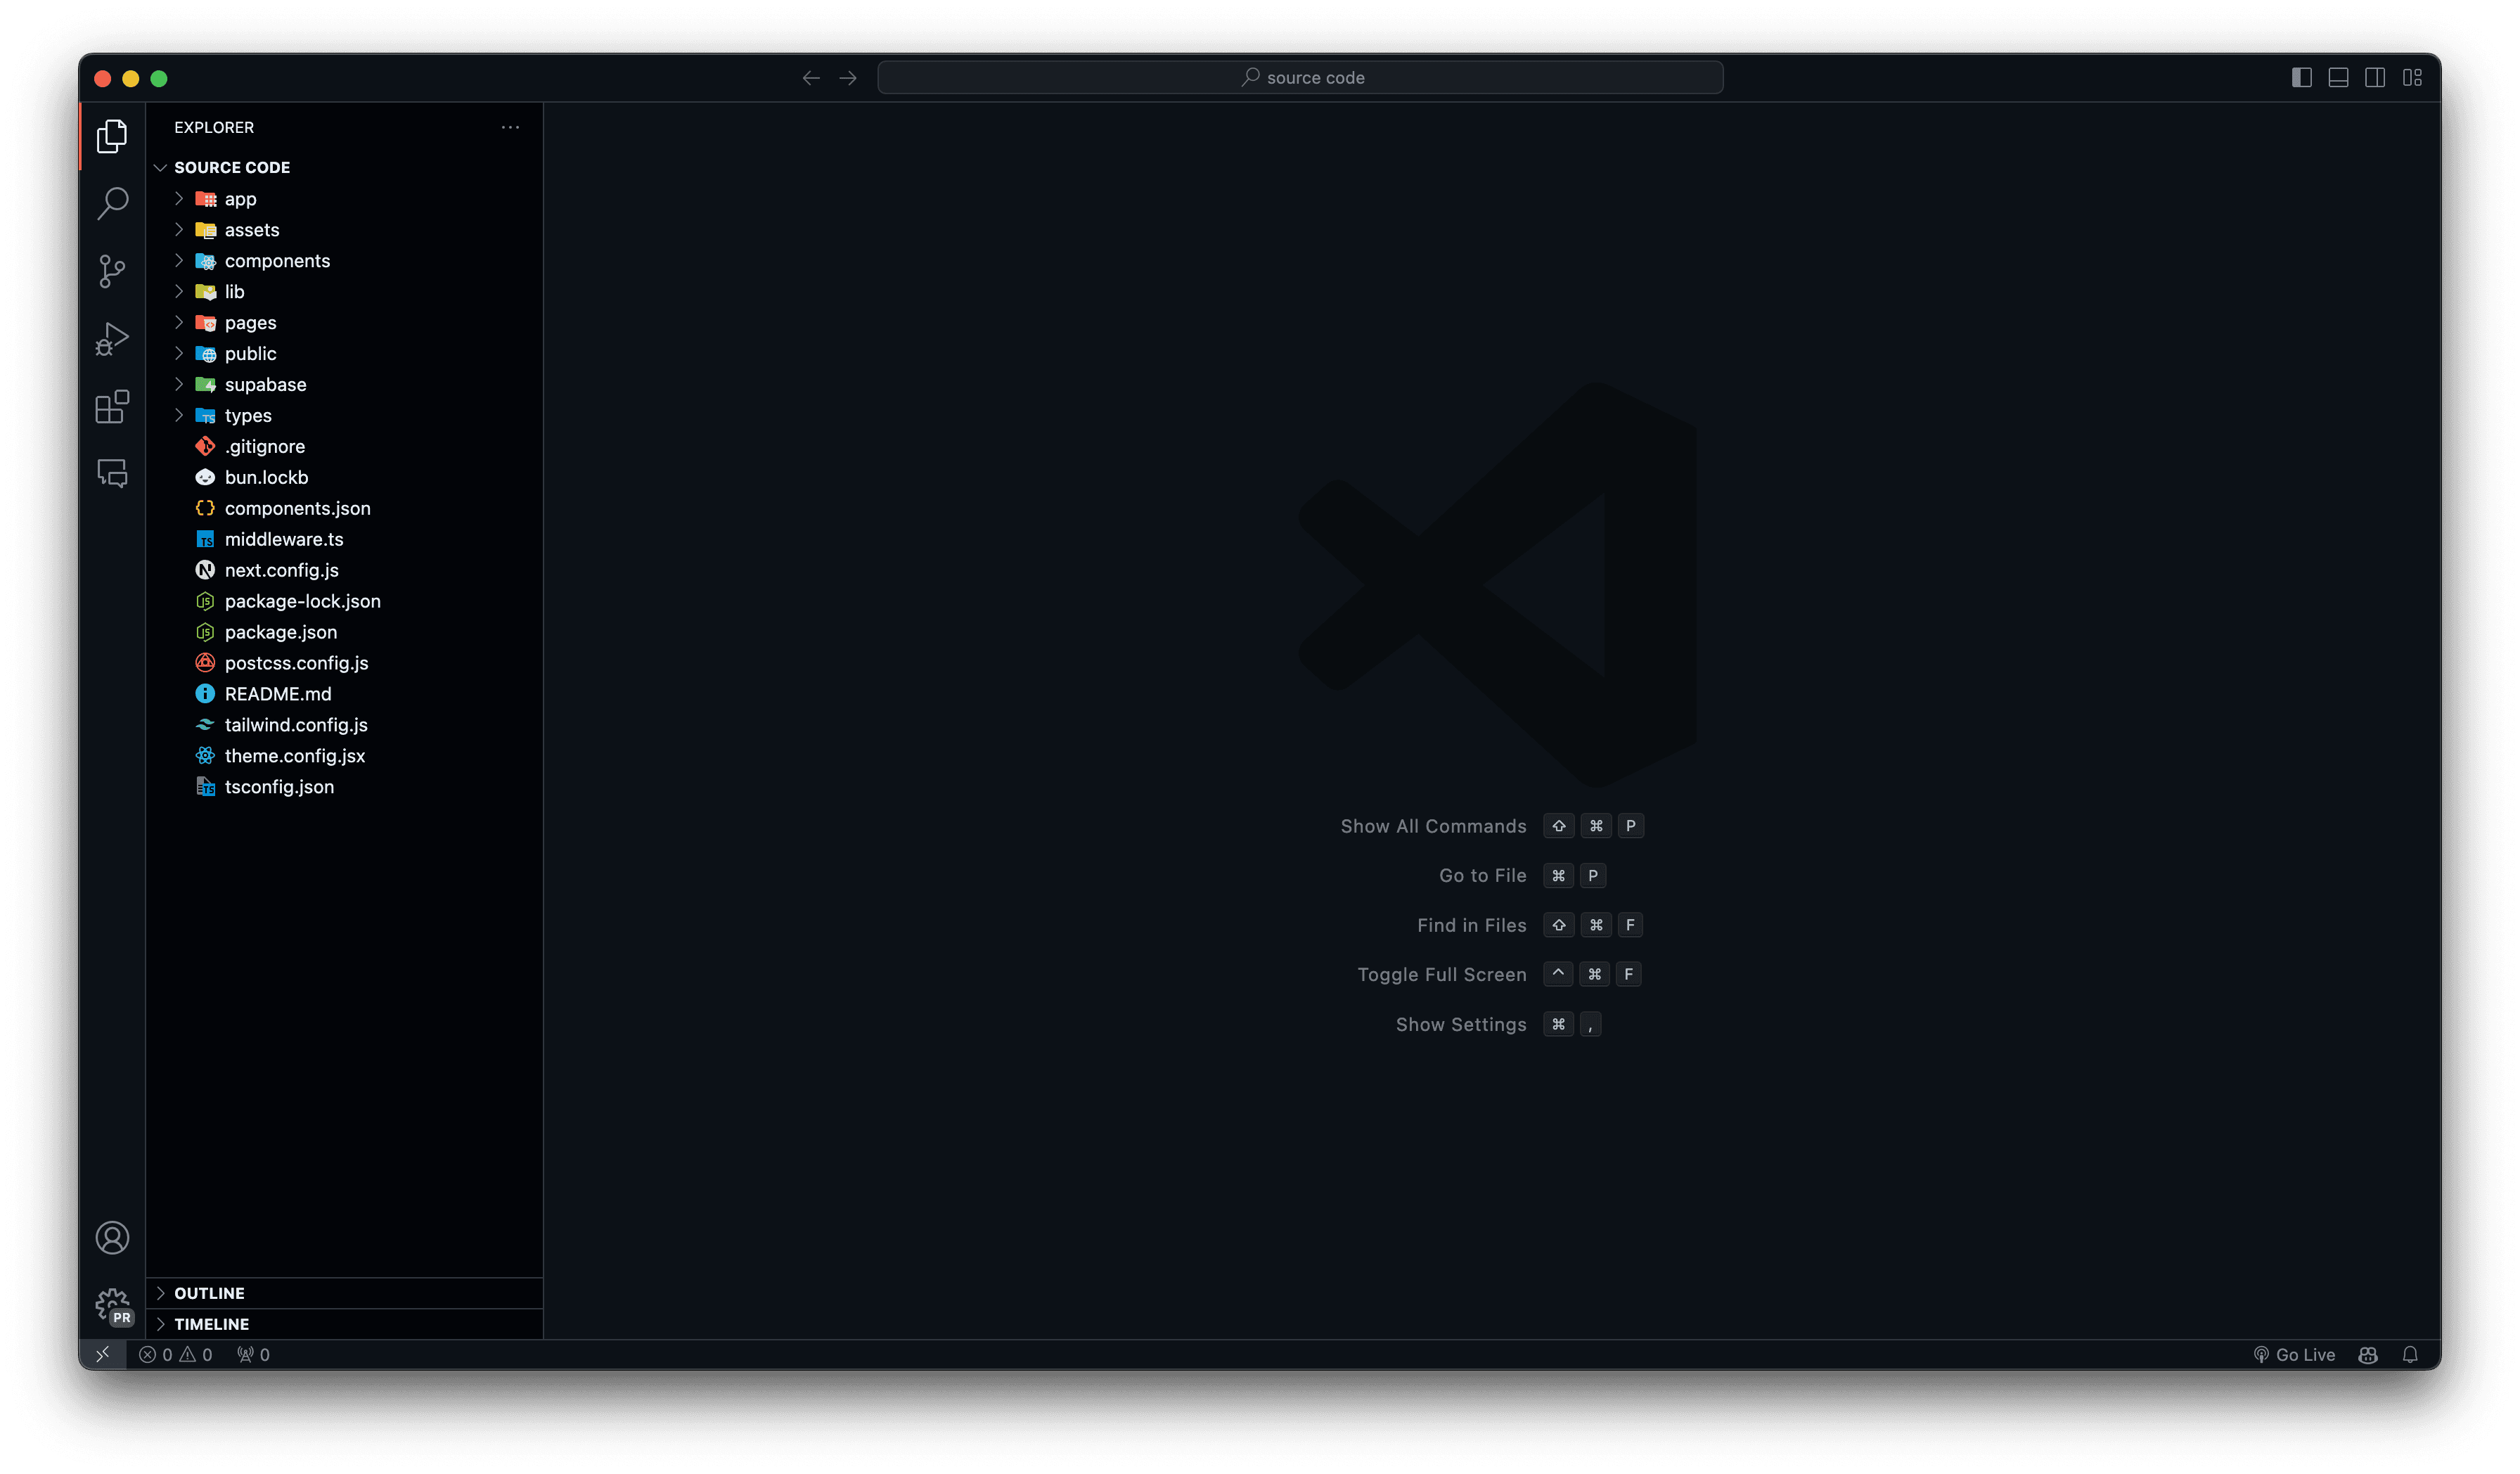
Understanding The Structure Of The Codebase
The following file tree explains how the structure of your codebase should look like in your code editor:
Please make sure not to touch or modify the files or part of the files that are not mentioned in the guide. These files include most of the files containing the core functionality of the application. Don't replace any sensitive piece of code without much knowledge if you're someone who is not familiar with coding in the provided tech-stack.
-
The
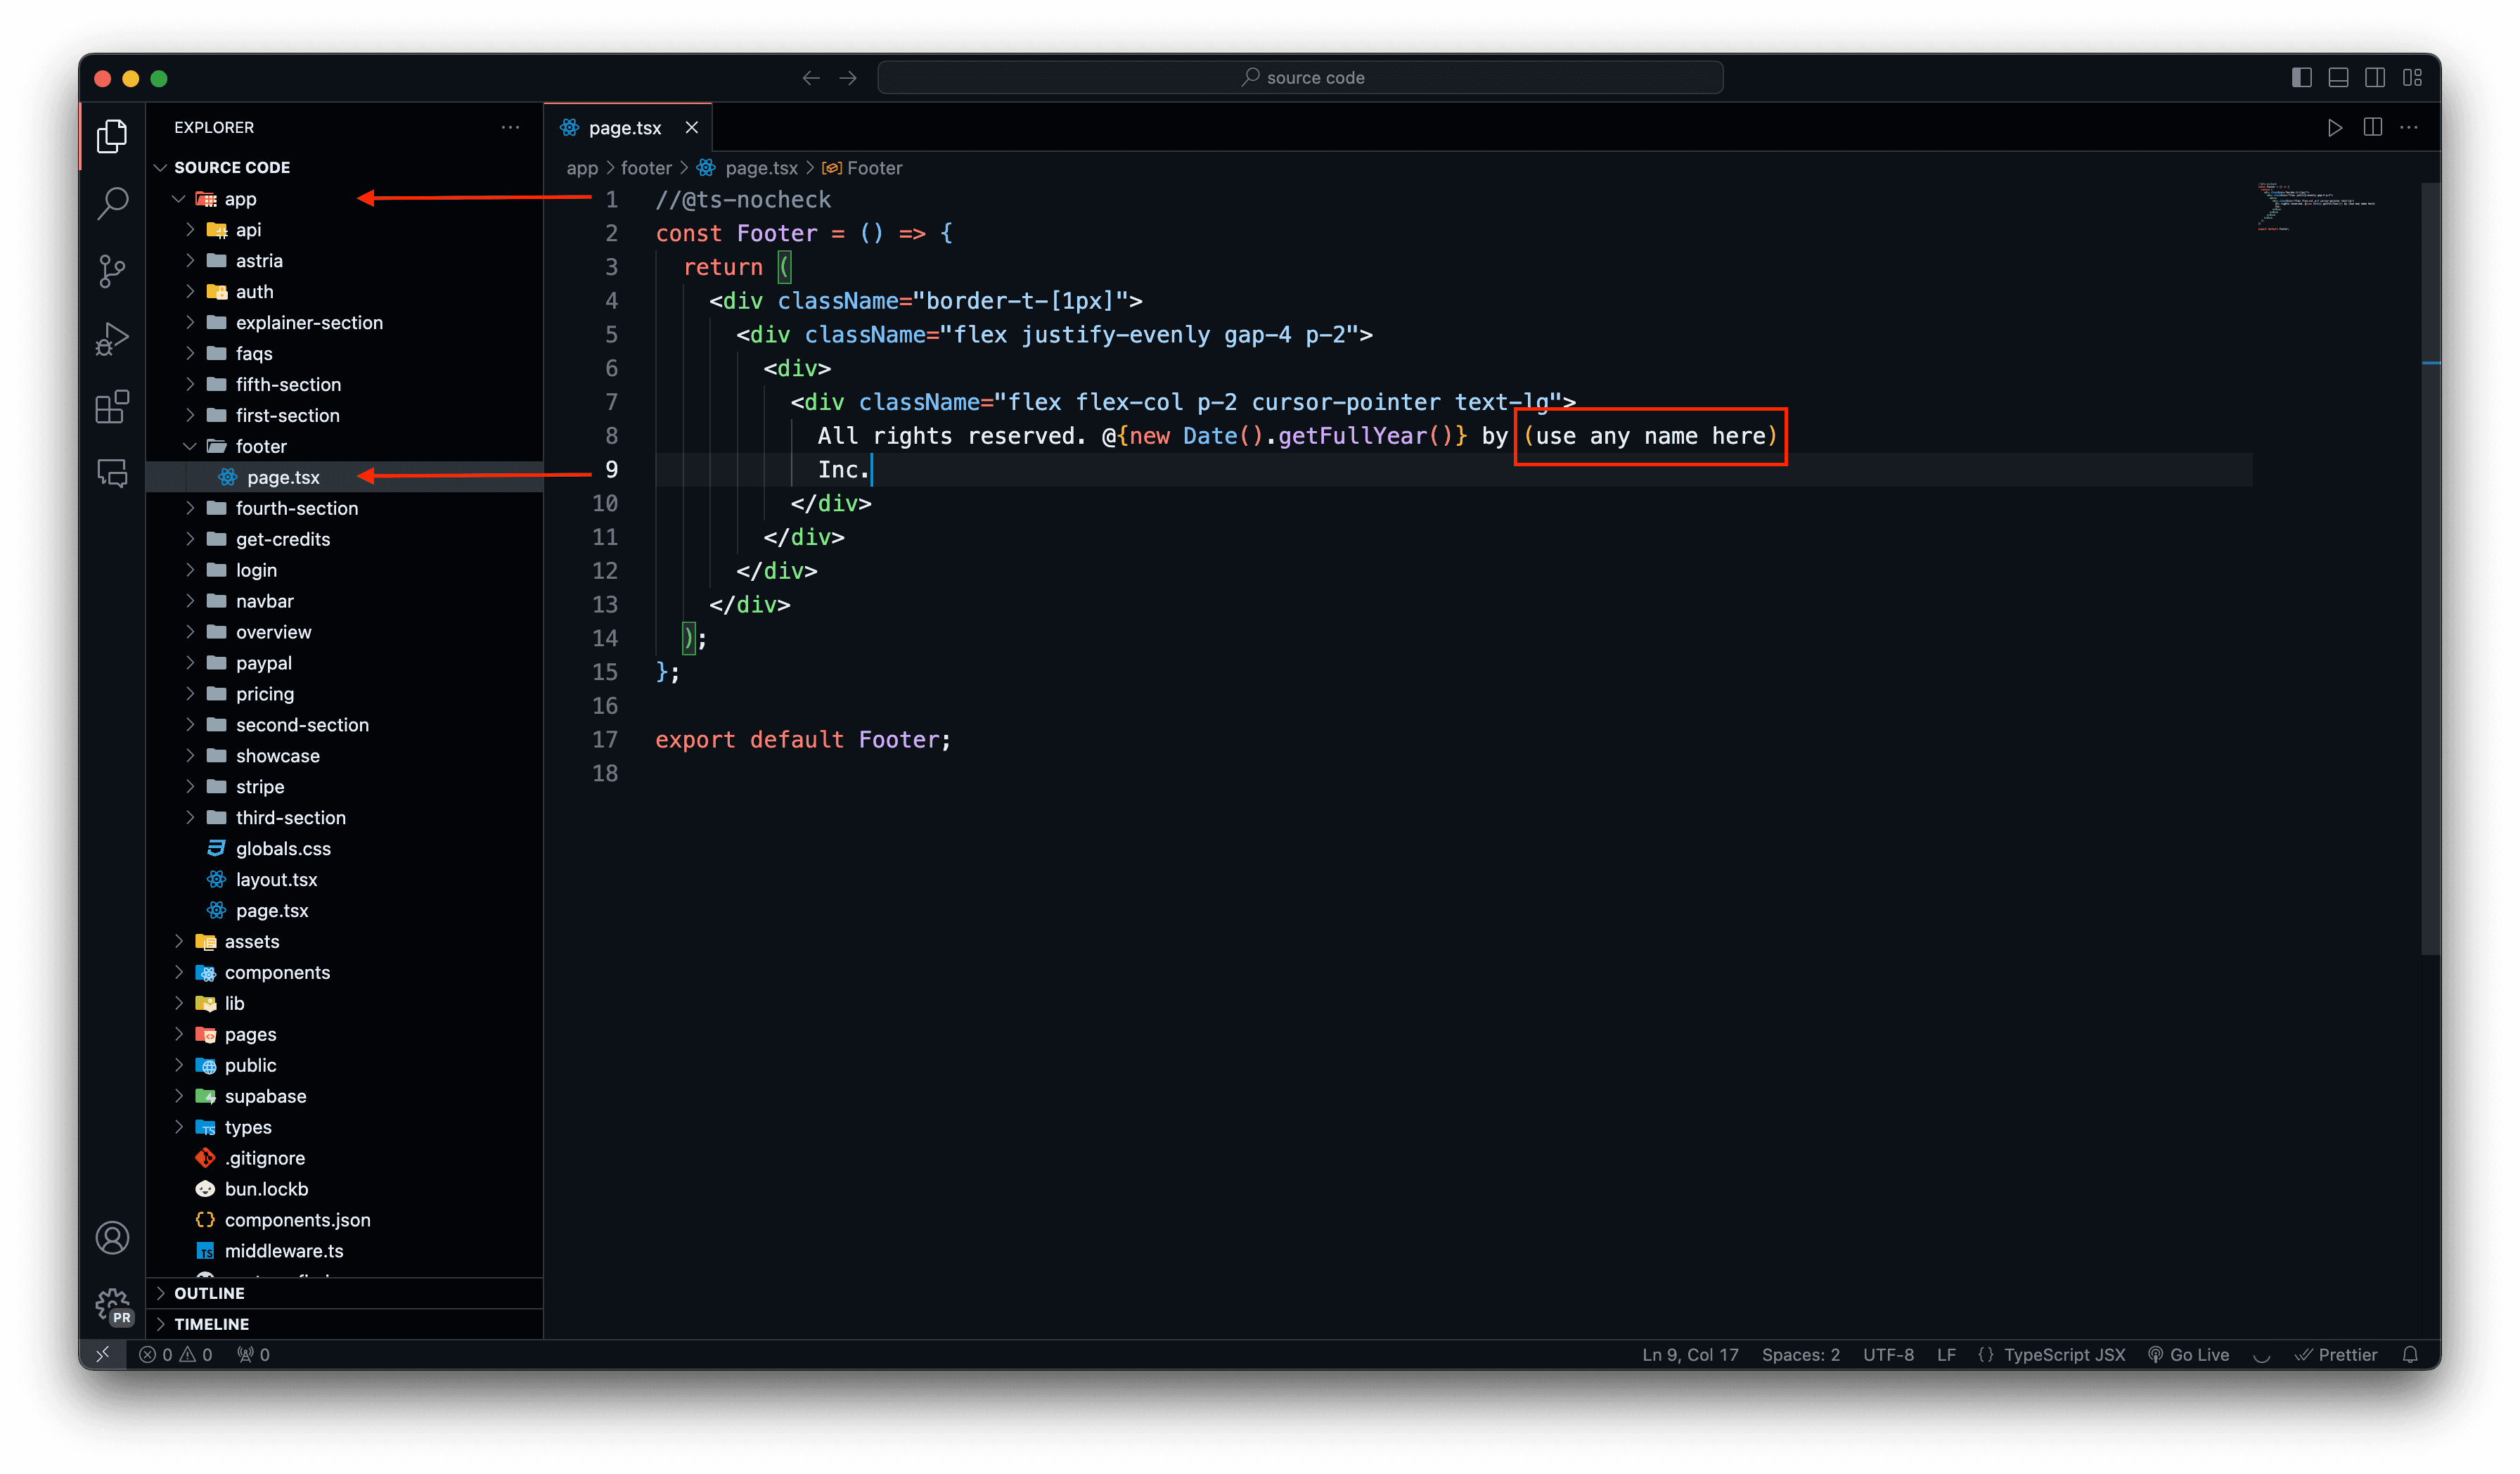
appfolder contains all the necessary sections of your application. You can customize the codebase by modifying the files in this folder. For example: If you want to change the headings of your navbar, you can do so by selecting thenavbarfolder and finding the appropriate files. Replace the text with your desired text and save the file. -
The
assetsfolder contains all the images and other media files used in your application. You can customize the codebase by modifying the files in this folder. Please make sure that if you're replacing any logo's or images, the file name should be the same as the original file name. -
The
pagesfolder contains the documentation and other pages of your application. You can customize this like any other file we have mentioned in the guide so far. -
The
publicfolder contains all the public files of your application. Public files also include some images and graphics that you can customize by keeping the same file name and replacing the original file.
Submitting Changes
After you have changed the necessary text or images, you can submit the changes by clicking Control + S button.
Given below are some images on how this step gets performed.
Reuploading Codebase
After you have made the necessary changes, you can reupload the codebase to your server. You can do this by using
your server's File Manager like you did previously.
Build and Deploy Changes
Once you're satisfied with your changes:
# Build the application
npm run build

# Restart the PM2 process
pm2 restart your-app
Rolling Back Changes
If you need to roll back changes:
- Keep backup copies of modified files
- Restore from backup if needed
- Rebuild and restart the application
Always test changes in a development environment before deploying to production. Keep backups of modified files for easy rollback if needed.
This is the recommended way to make changes to your codebase. With this you can easily make a lot of changes at the same time.