Installing Git
To deploy Framecast AI to production, we're using Git (opens in a new tab). A free and open-source distributed
version control system to handle our codebase and it's future updates in a more organized manner. Click here to
Download Git (opens in a new tab). Once you have downloaded Git & purchased the code, move into the
folder named source code using your terminal.
cd "source code"Creating A GitHub Account
Head over to GitHub (opens in a new tab) and create an account. GitHub is a platform that provides a space to
create and manage your remote code repositories. Once you have created an account, you can create a new repository
and name it whatever you like by navigating to the Repositories tab and clicking on the New button. For security
purposes, keep the repository private.
Now follow the steps given below:
Initialize Git
In your terminal, enter the following command to initialize Git in your project:
git initPushing Code To GitHub
Add all files, and commit them to your remote repository by running the following commands one-by-one:
git add .git commit -m "Any message you want to add e.g. Pushing code to GitHub"Change the branch, add your remote origin referencing your remote repository, and push the codebase.
git branch -M maingit remote add origin (enter the link of your remote repository without brackets)git push -u origin mainThis is how your terminal should look after following the guide and running these commands:
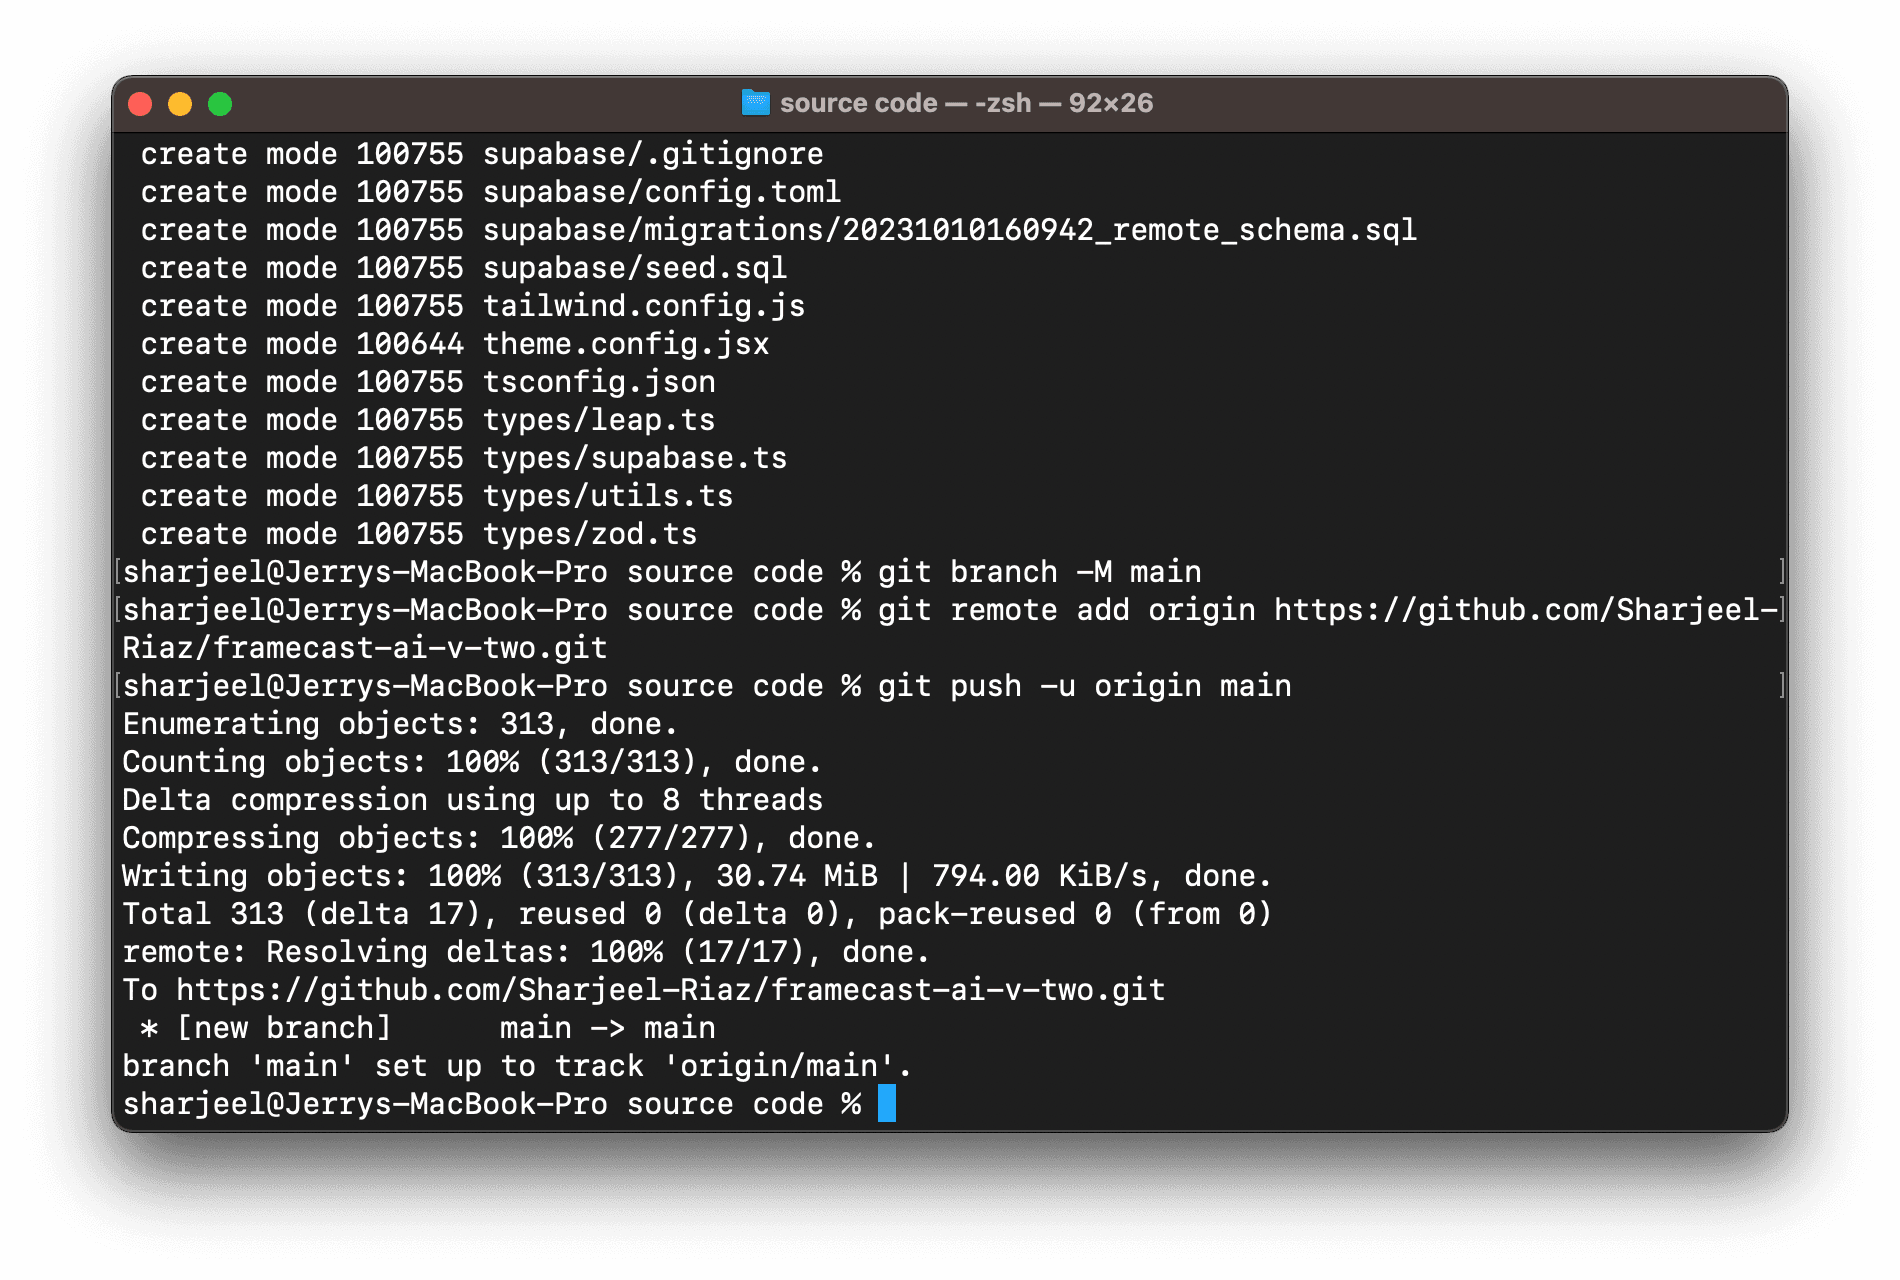
Post pushing of codebase on GitHub via Git as seen on a terminal window.