Integrating Payment Gateways
Currently Framecast AI supports the following payment gateways:
We will guide you through the process of integrating these payment gateways into your Framecast AI application.
Stripe
The current setup for a credit based system is 1 credit = 1 model for training headshots. To enable Stripe billing, you
will need to fill out the following fields in your .env file:
Replacing Secret Key
Replace your-stripe-secret-key with your original Stripe Secret key from Stripe dashboard page (opens in a new tab).
Replacing Webhook Secret
Replace your-stripe-webhook-secret with your original Stripe Webhook Secret from Stripe webhook page (opens in a new tab)
by creating a new endpoint that points to the following URL: your-app-url/stripe/subscription-webhook. The webhook
should be listening for the checkout.session.completed.
Enabling Stripe
Set NEXT_PUBLIC_STRIPE_IS_ENABLED to true if it is'nt to enable Stripe payments.
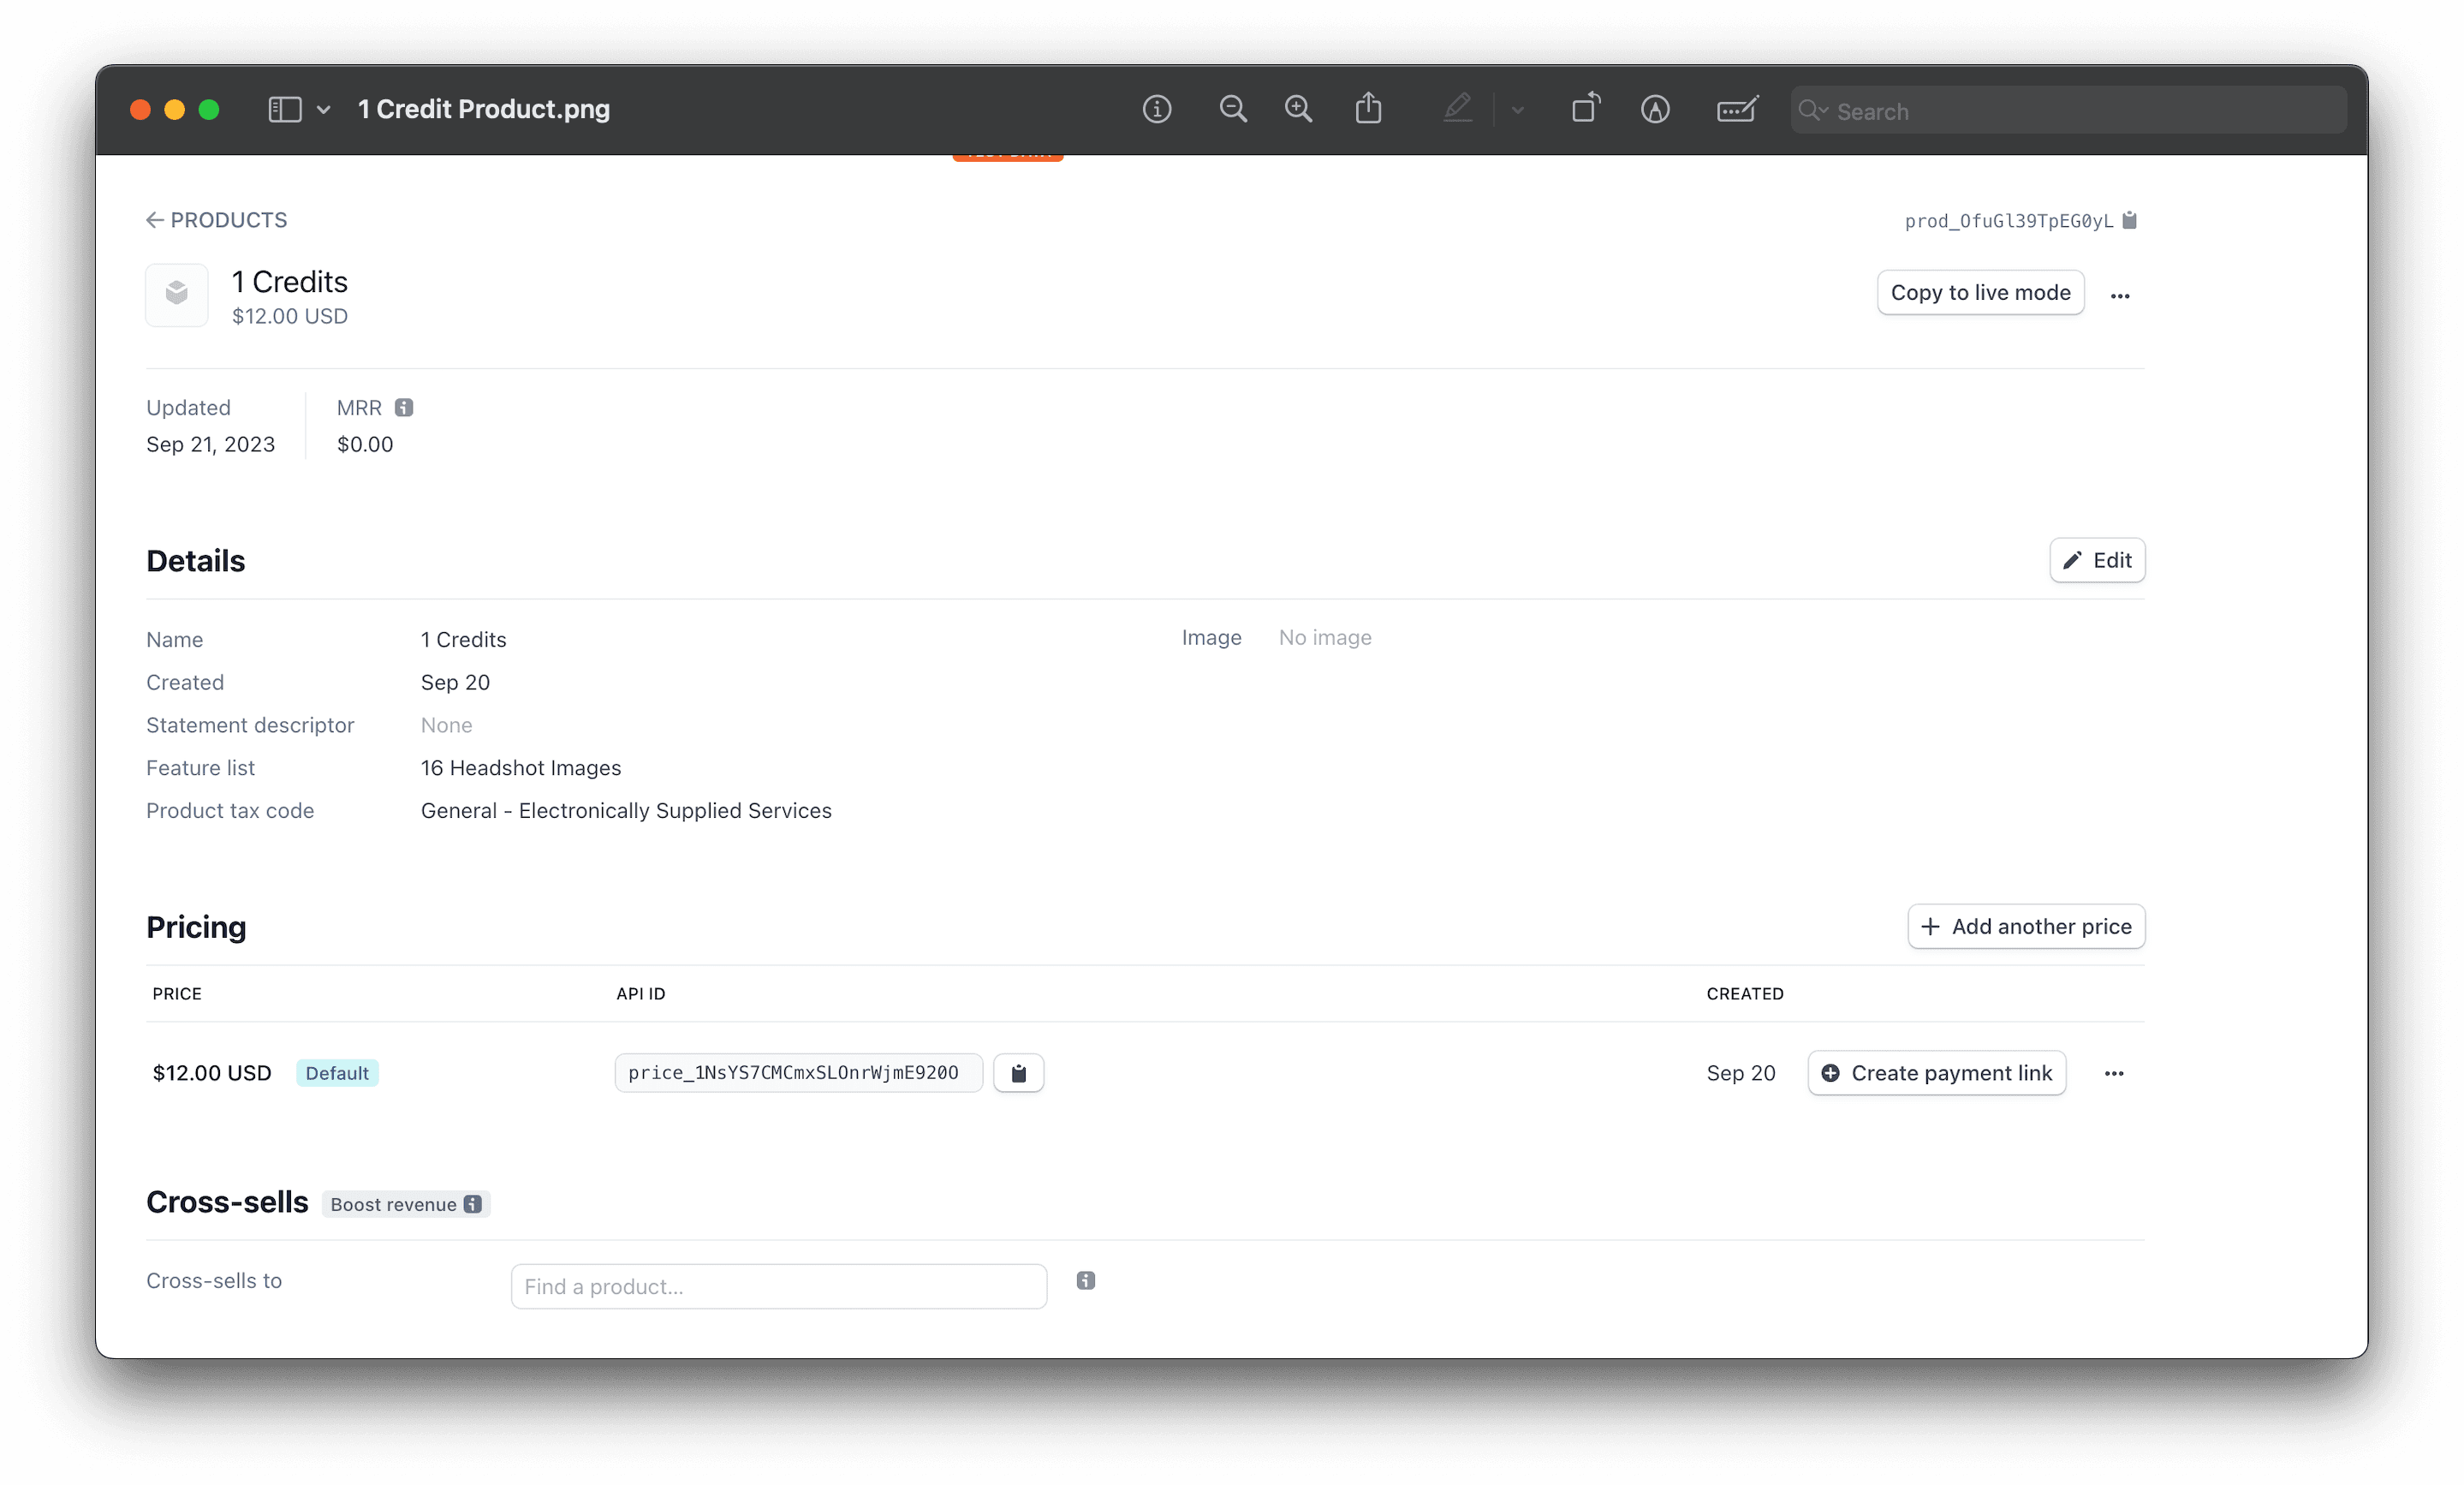
Currently you can only offer three credit packages: 1, 3, and 5. If you want to offer more or different packages, you will need to customize the code accordingly.
Now you need to create a Stripe Price for each credit package you want to offer. For example, if you want to offer 1, 3, and 5 credits, you will need to create 3 prices in Stripe.
Replacing First Price ID
Replace your-stripe-price-id-one-credit with your original Stripe Price ID by creating a new price product
from Stripe product page (opens in a new tab).
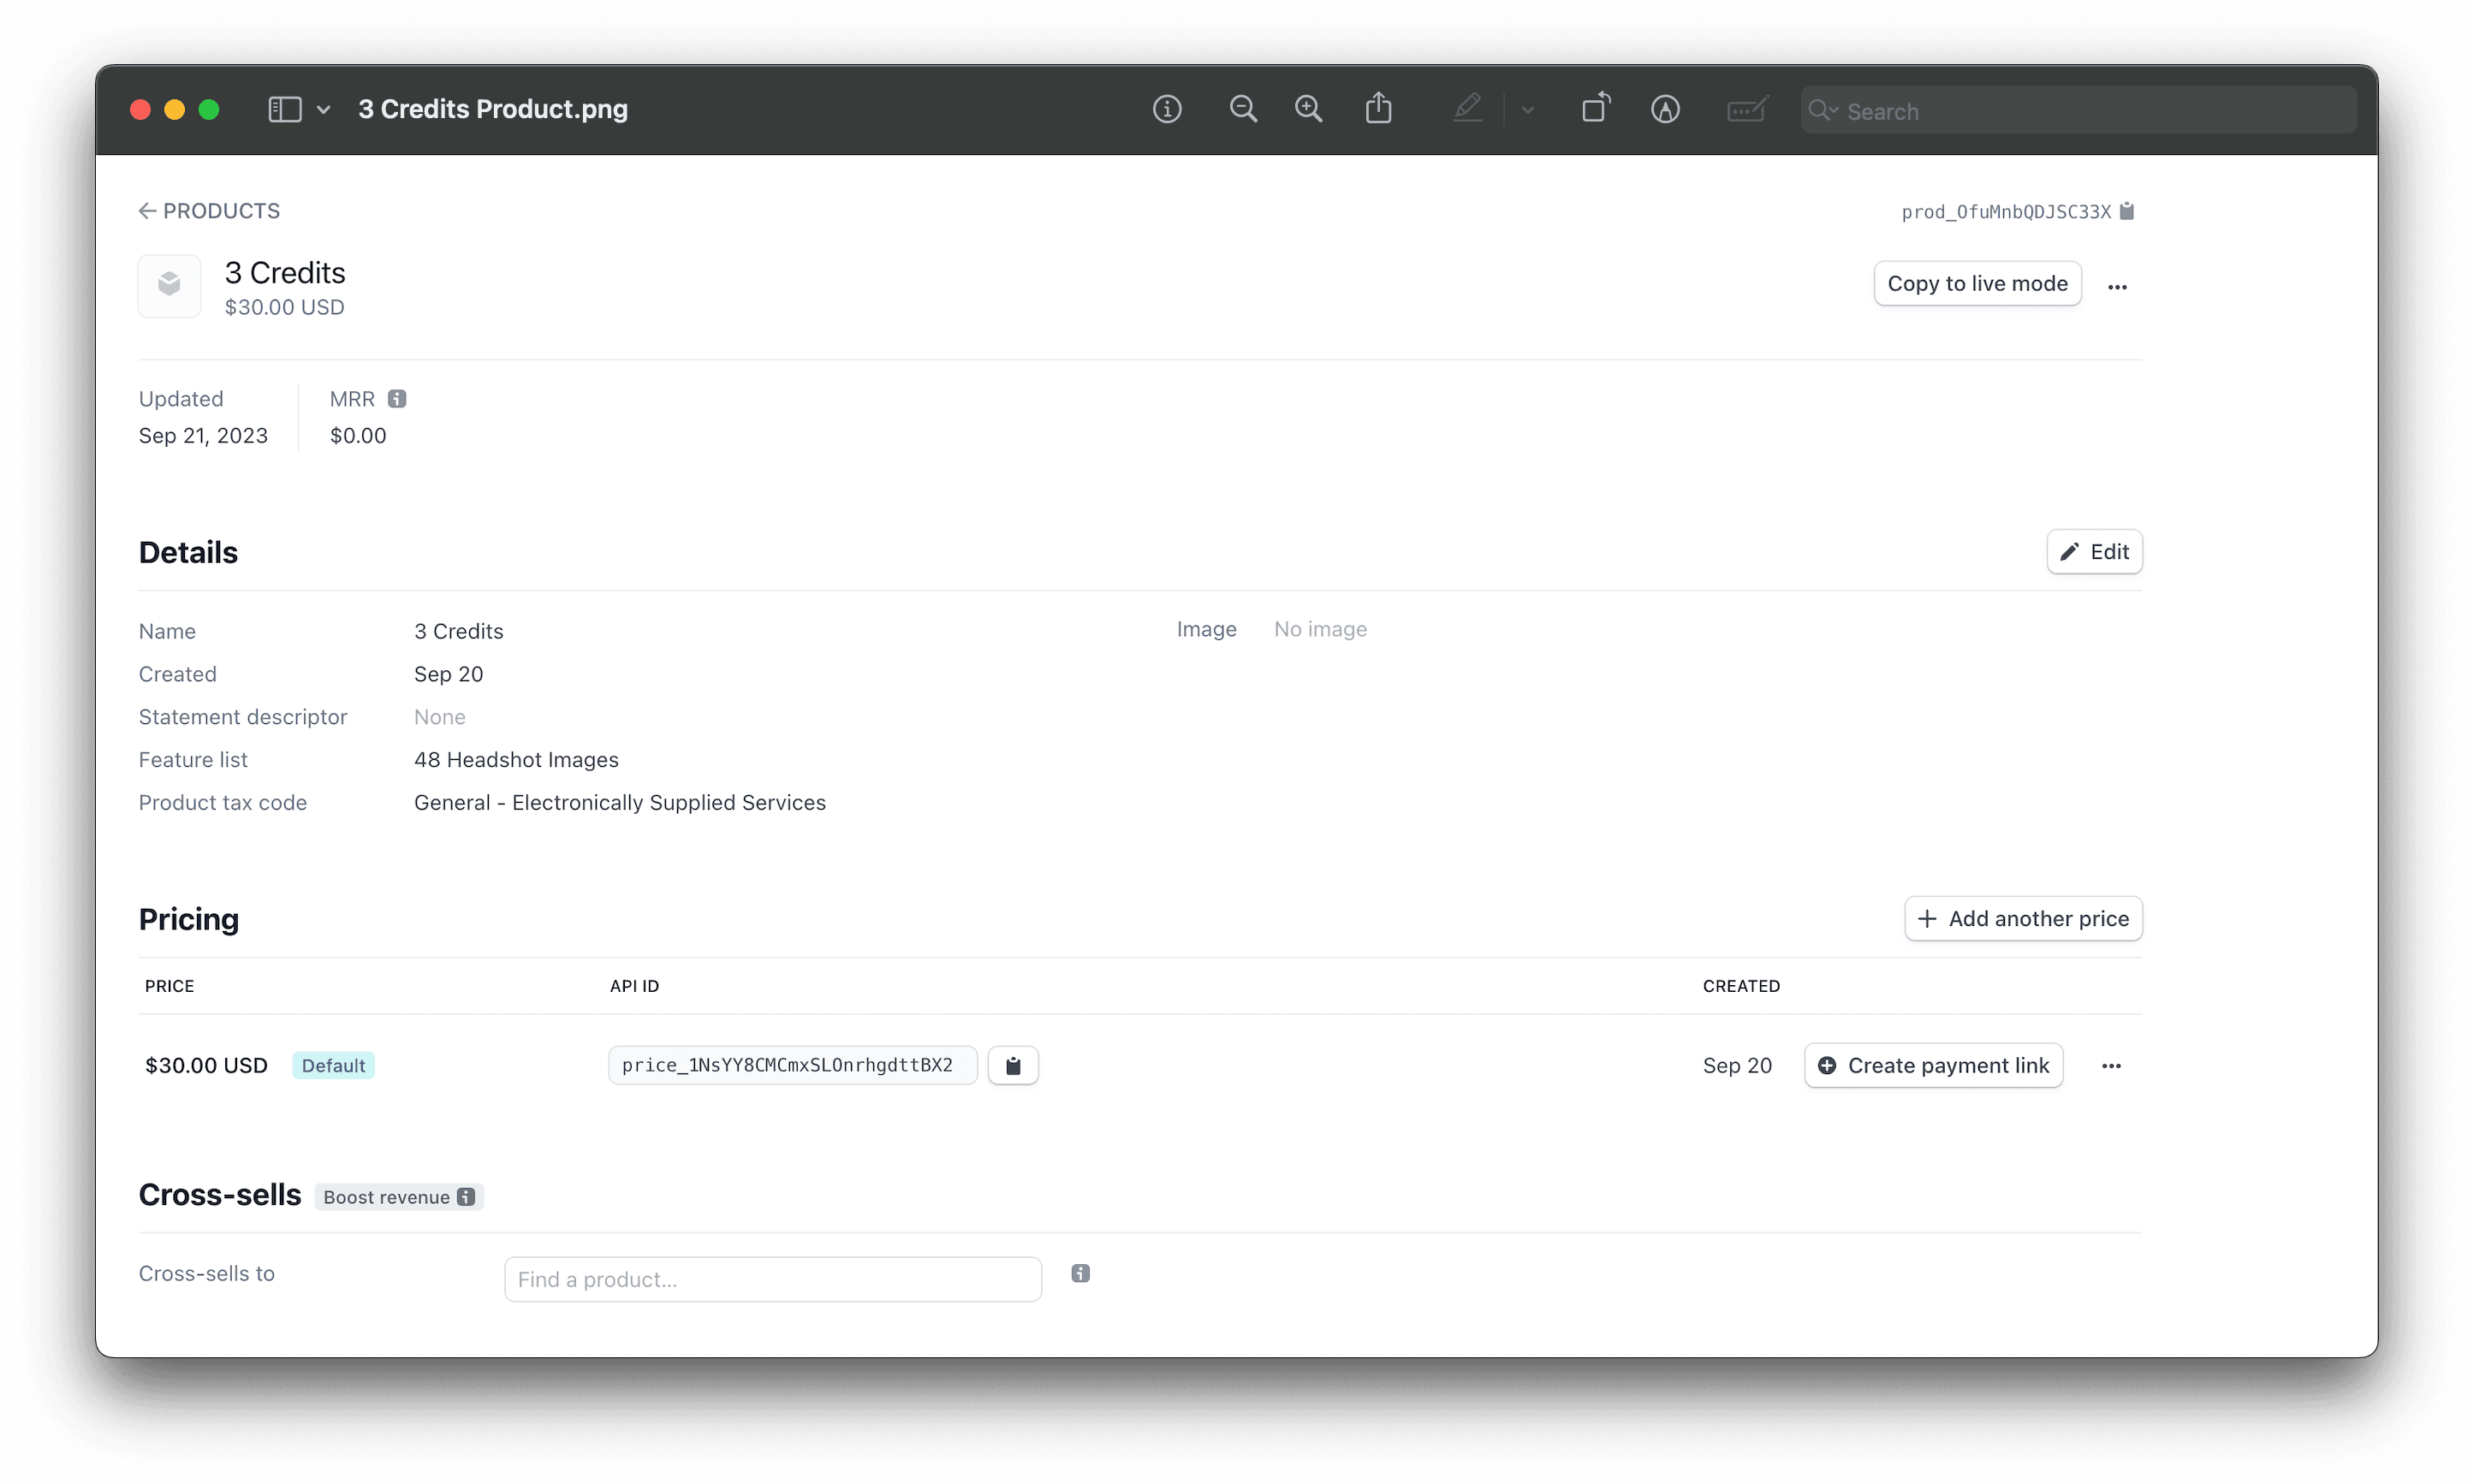
Replacing Second Price ID
Replace your-stripe-price-id-three-credits with your original Stripe Price ID by creating a new price product
from Stripe product page (opens in a new tab).
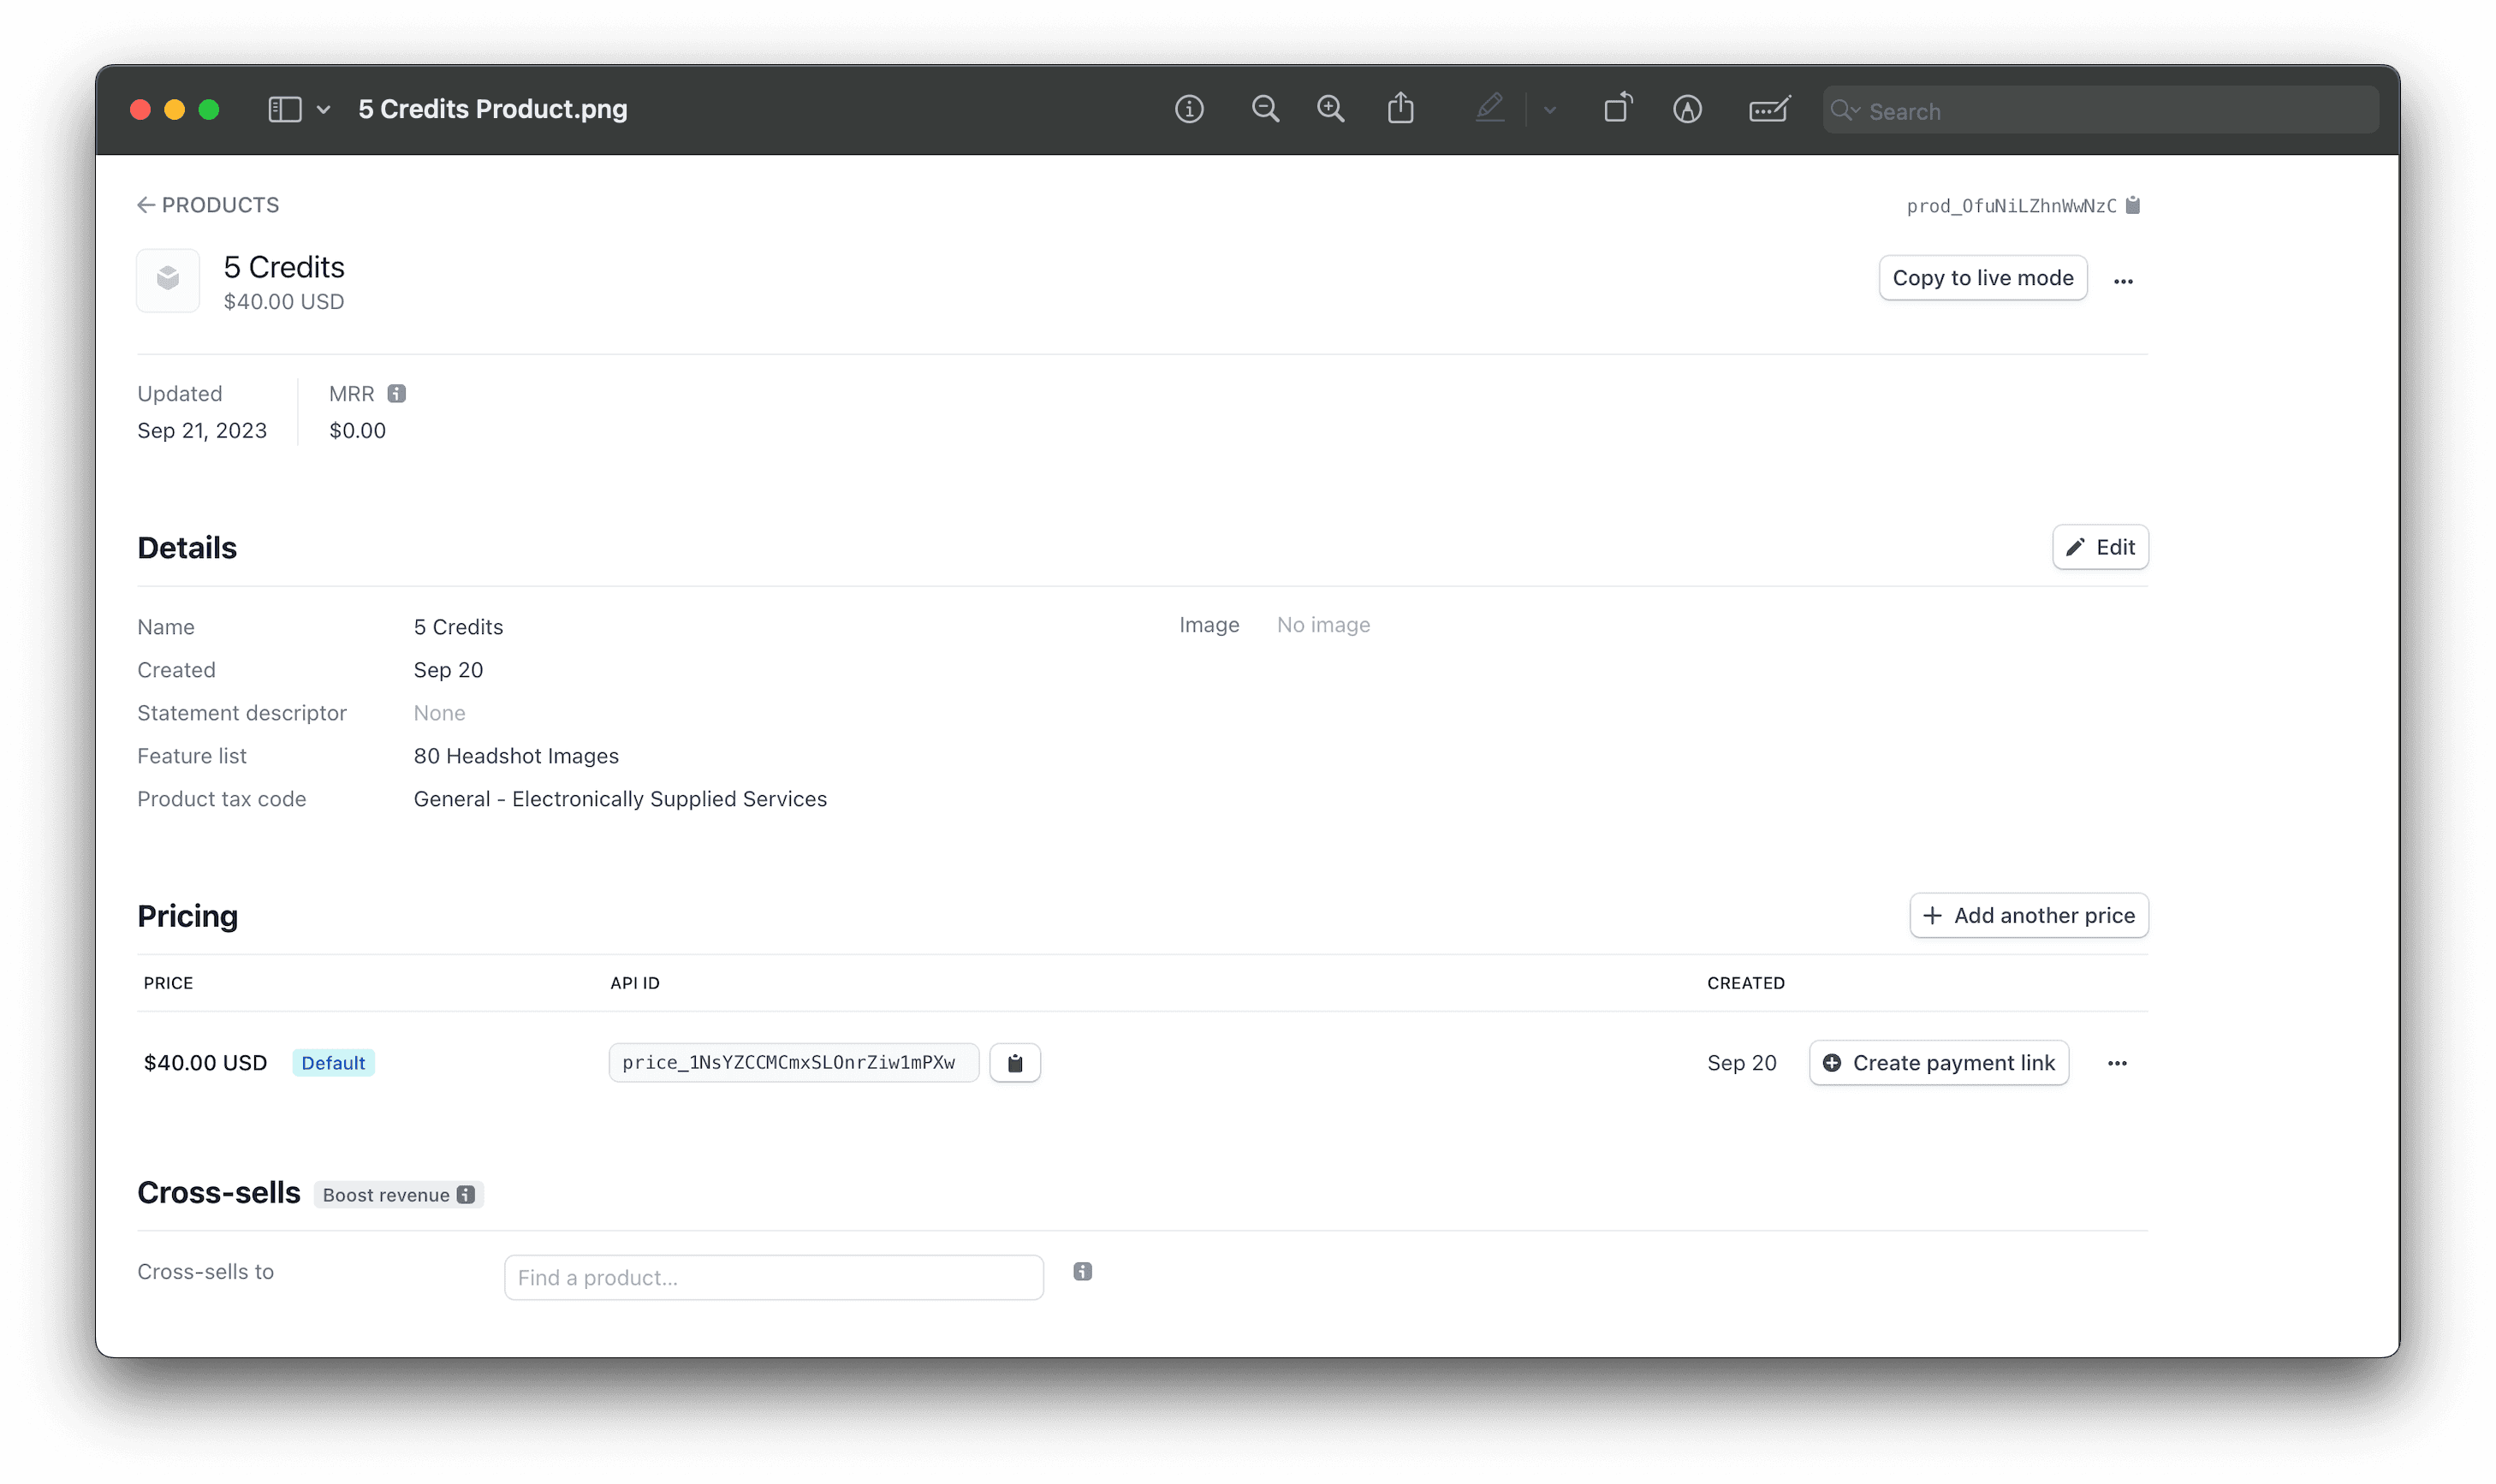
Replacing Third Price ID
Replace your-stripe-price-id-five-credits with your original Stripe Price ID by creating a new price product
from Stripe product page (opens in a new tab).
Following are the products you need to create on your Stripe product page (opens in a new tab):
PayPal
To enable PayPal billing, you will need to perform the following steps:
Login to PayPal
Login to your PayPal account (opens in a new tab) and create a new application to
get the Client ID.
Creating A New Application
Select Apps & Credentials. New accounts come with a Default Application in the REST API apps section. To
create a new project, select Create App.
Replacing PayPal Client ID
You only need the PayPal Client ID. No need for your client secret. Replace your-paypal-client-id with your
original PayPal Client ID.
Razorpay
To enable Razorpay billing, you will need to perform the following steps:
Login to Razorpay
Login to your Razorpay account (opens in a new tab) with the appropriate
credentials. Make sure Live mode is turned on.
Navigate To Right Section
Navigate to Account & Settings → API Keys (under Website and app settings) → Generate Key to generate key for
the selected Live mode.
Replacing Razorpay Key ID and Razorpay Key Secret
The Key ID and Key Secret should appear on a pop-up page. Replace your-razorpay-key-id with your original
Razorpay Key ID and your-razorpay-key-secret with your original Razorpay Key Secret.